Trezor Start Guide: Securely Store, Manage, and Protect Your Cryptocurrency
Introduction
In today’s rapidly evolving world of digital finance, cryptocurrencies offer unprecedented opportunities. But with great opportunity comes significant risk. Online exchanges and software wallets are vulnerable to hacking, phishing, and malware attacks. The solution? A Trezor hardware wallet—a secure, offline device that puts your crypto assets under your control.
This guide is your comprehensive starting point. Whether you’re a complete beginner or looking to upgrade your crypto security, you’ll learn how to set up, manage, and protect your Trezor wallet. By the end, you will have a strong understanding of how to safely store and manage your cryptocurrencies.
1. Why Trezor? Understanding the Benefits
1.1 What Is a Hardware Wallet?
A hardware wallet is a physical device that stores your private keys offline. Unlike software wallets connected to the internet, hardware wallets drastically reduce the risk of hacks, phishing, and malware attacks.
1.2 Trezor Models
Trezor One: Beginner-friendly, supports most major cryptocurrencies, compact and affordable.
Trezor Model T: Advanced model with touchscreen, supports a broader range of coins, and includes additional security features like encrypted storage.
1.3 Key Security Features
PIN Protection: Blocks unauthorized access.
Passphrase Support: Creates a hidden wallet for added security.
Recovery Seed: A backup that allows wallet recovery if the device is lost or damaged.
2. Unboxing Your Trezor Device
2.1 Check the Package
When you receive your Trezor, verify that it is tamper-free. Inside, you should find:
The Trezor device
USB cable
Recovery seed cards
Quick start guide
2.2 Safety First
Buy only from official Trezor channels.
Never share your recovery seed or PIN.
Set up your device in a private, secure location.
3. Setting Up Your Trezor Wallet
3.1 Connecting Your Device
Connect your Trezor to your computer using the supplied USB cable.
Go to Trezor.io/start to access the setup page.
3.2 Installing Trezor Suite
Trezor Suite is the official software for managing your wallet. Download it for your operating system and follow on-screen instructions.
3.3 Initializing the Device
Step 1: Choose “Create New Wallet” or “Recover Wallet.”
Step 2: Set a PIN code on your device. Avoid simple or obvious numbers.
Step 3: Write down your recovery seed on the provided cards. This seed is your ultimate backup.
3.4 Verifying Your Recovery Seed
Trezor will ask you to confirm certain words from your recovery seed to ensure it was recorded correctly. This step is critical; any mistakes could result in losing access to your funds.
4. Using Your Trezor Wallet
4.1 Navigating Trezor Suite
Trezor Suite provides a user-friendly interface to manage multiple cryptocurrencies. You can:
Send and receive coins
View balances and transaction history
Install apps for additional crypto support
4.2 Sending Cryptocurrency
Select the cryptocurrency you want to send.
Enter the recipient address and the amount.
Confirm the transaction on your Trezor device.
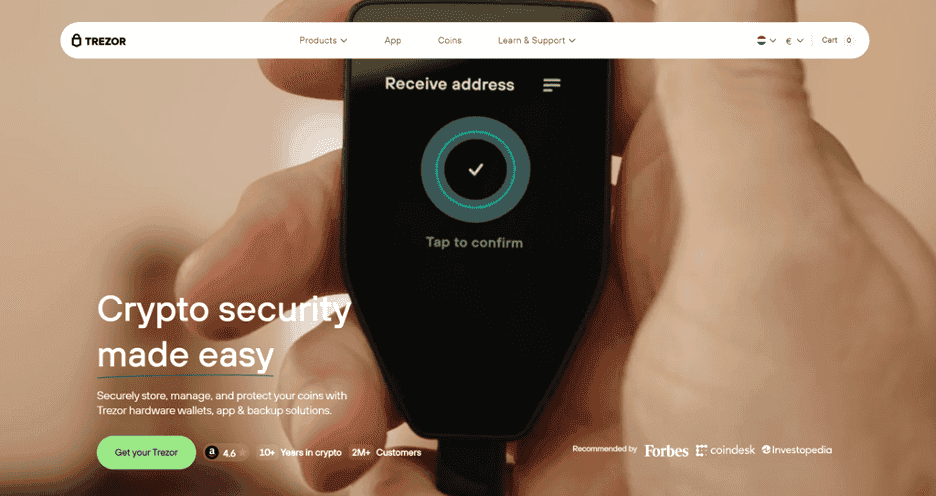
4.3 Receiving Cryptocurrency
Click “Receive” in Trezor Suite.
Verify the address on your Trezor device.
Share this public address with the sender. Never share your private key.
4.4 Managing Multiple Cryptocurrencies
Trezor supports Bitcoin, Ethereum, and over 1,000 other coins. You can install additional apps via Trezor Suite for advanced asset management.
5. Advanced Security Features
5.1 Passphrase Protection
You can add an optional passphrase to create a “hidden wallet” that only you can access. This adds an extra layer of security for your most sensitive funds.
5.2 Firmware Updates
Trezor regularly releases firmware updates to enhance security. Always update directly from Trezor Suite and avoid third-party sources.
5.3 Backup and Recovery
Store your recovery seed in multiple secure, offline locations. Avoid storing it digitally or online. Consider using fireproof safes or secure deposit boxes.
6. Troubleshooting and Support
6.1 Common Issues
Device not recognized: Ensure Trezor Suite is installed and the device is connected properly.
Forgot PIN: Use your recovery seed to reset the device.
Firmware update failed: Retry using a stable internet connection.
6.2 Trezor Support
Visit Trezor Support for detailed guides, FAQs, and troubleshooting steps.
7. Best Practices for Long-Term Security
Keep your recovery seed offline and private.
Use a complex PIN and optional passphrase.
Regularly update your firmware and Trezor Suite.
Store your Trezor in a secure location.
Periodically review your transactions to detect any unauthorized activity.
8. Integrating Trezor with Other Services
8.1 Third-Party Wallets
Trezor integrates with wallets like Electrum, MyEtherWallet, and Exodus. These integrations expand functionality while maintaining security.
8.2 DeFi and Staking
Trezor supports DeFi apps and staking platforms, allowing you to earn rewards securely without exposing your private keys.
9. Why Millions Trust Trezor
Trezor has established itself as a leading hardware wallet brand globally. Its open-source software, secure architecture, and continuous updates make it trusted by millions. With Trezor, you retain full control over your digital assets, free from centralized risks.
10. Conclusion
Starting with Trezor is simple, yet it profoundly enhances your cryptocurrency security. By following this guide, you ensure that your digital assets remain secure, accessible only to you. Take control of your crypto journey today at Trezor.io/start.